
Step 1: Download and Install Zoom.
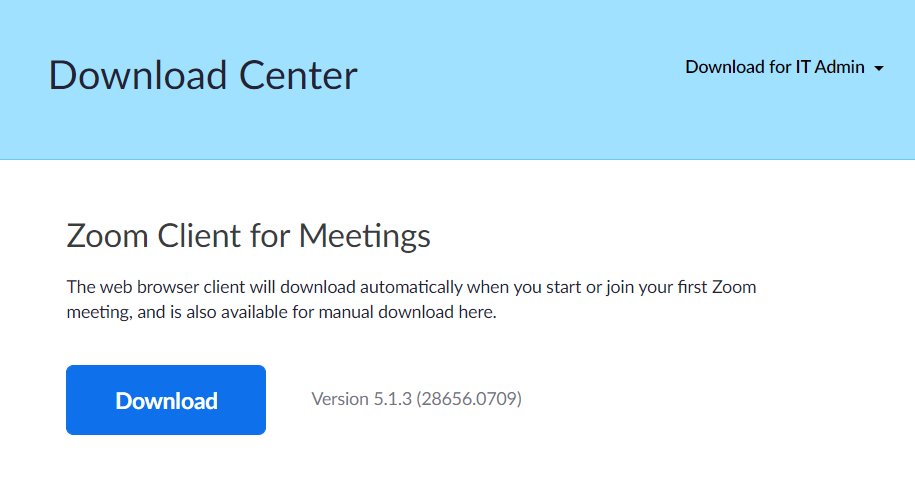
Open the download link of Zoom: https://zoom.us/download; Find “Zoom Client for Meetings” and click the corresponding download button to download the installation package on your Windows or MAC (refer to the picture below). Then install it on your laptop or computer.
Step 2: Open and Login Zoom
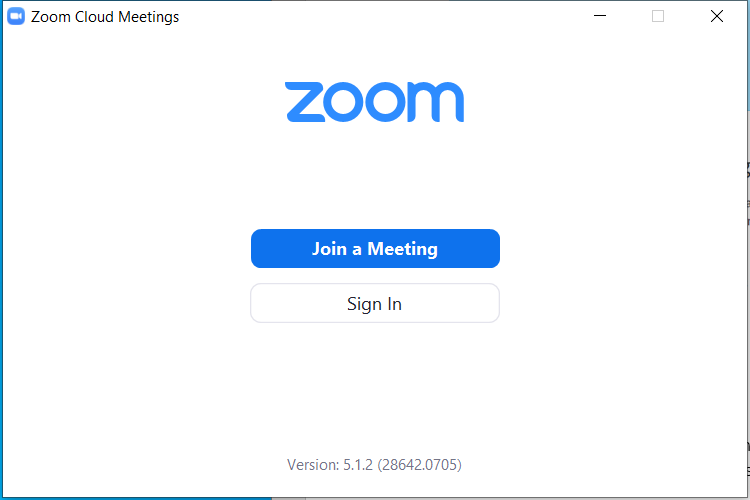
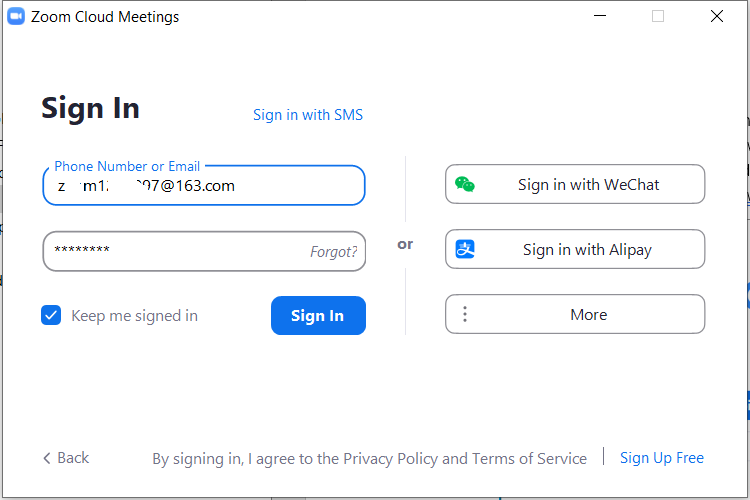
After it’s installed successfully, you will find the icon on the desktop of your laptop. Double click the icon to open it, and then it shows like the picture below. Please click “Sign In” and input the account and password we provide, which unlocks the supreme services. Please ask your coordinator for the account and password.
Step 3: Check Private Meeting Information
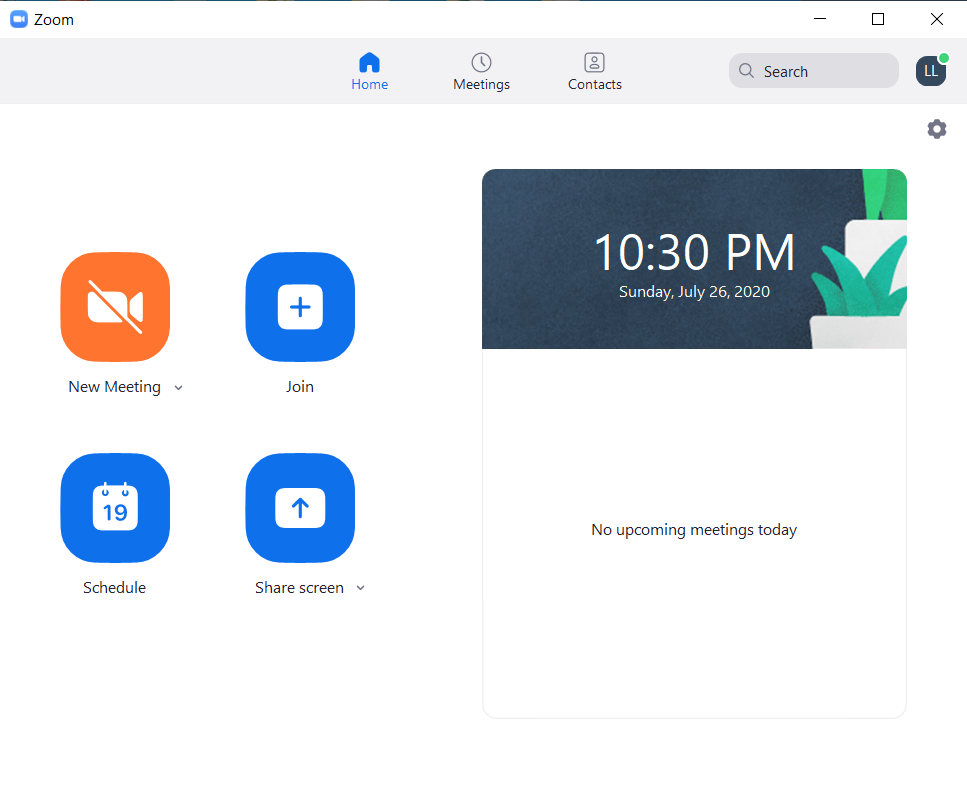
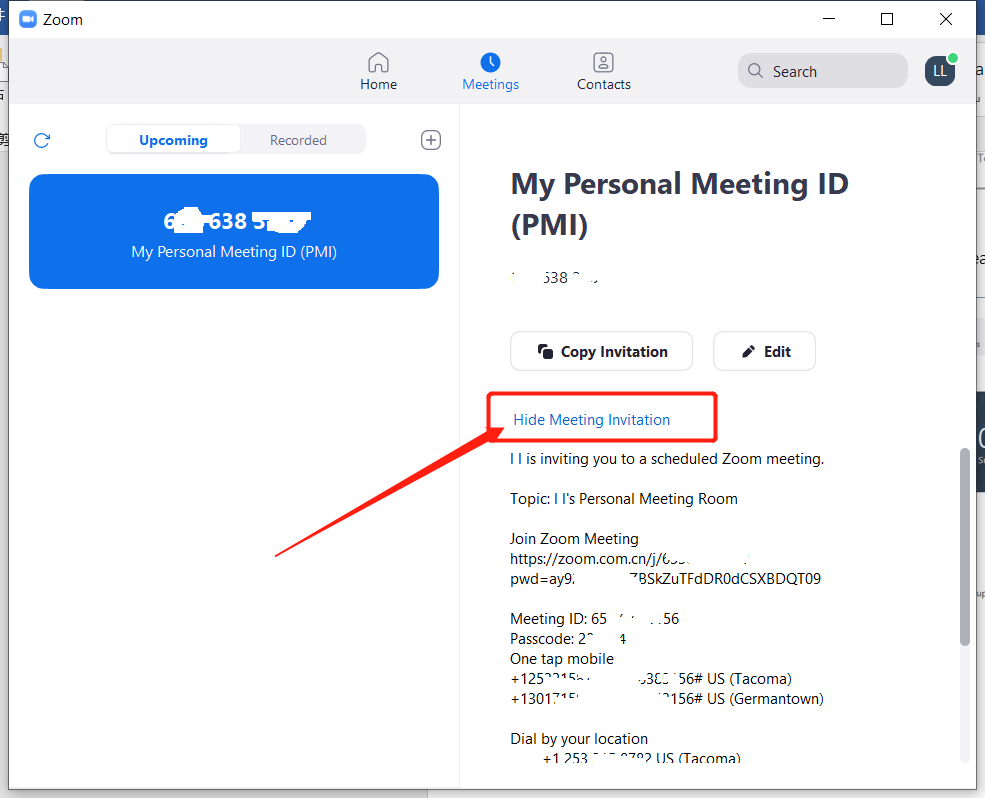
You will see the home page of Zoom like this picture below. Please click the second tab on the top bar, named “Meetings”.
It shows the Personal Meeting ID and the Passcode which need to be sent to the student(s) to let them enter into your class. (Your Chinese tutor will help to do it in advance.) The Meeting ID and passcode will not change by itself, so you don’t have to check it and set it for every class.
Step 4: Set and Start a Meeting
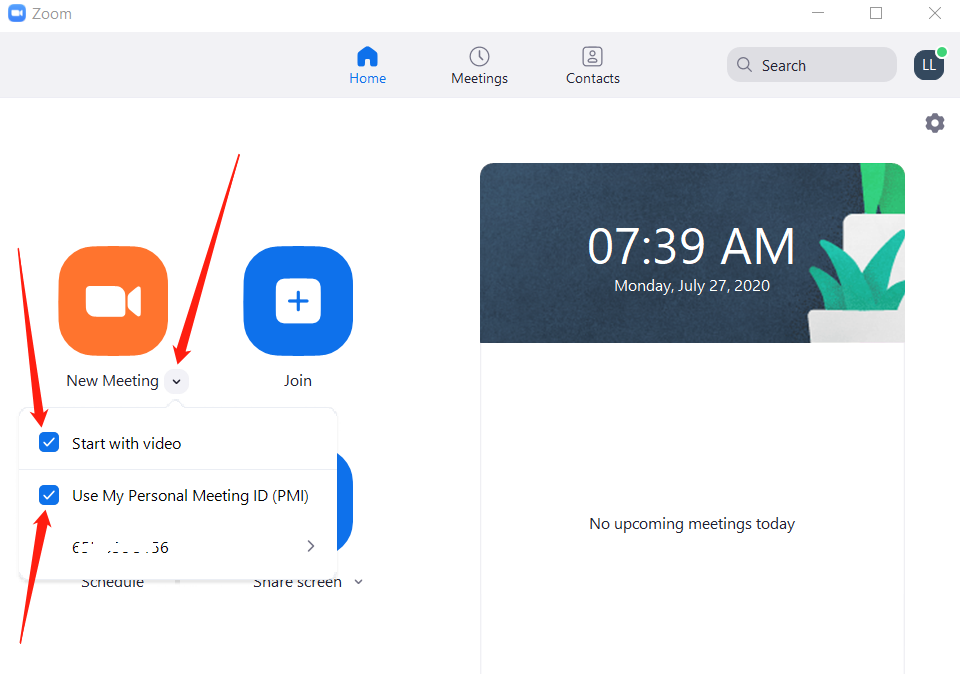
Please go back to the “Home” page, click the row menu, and check all the two options. And then click the big orange “New Meeting” icon to start the video meeting.
Step 5: Open and Check the Mic and Camera
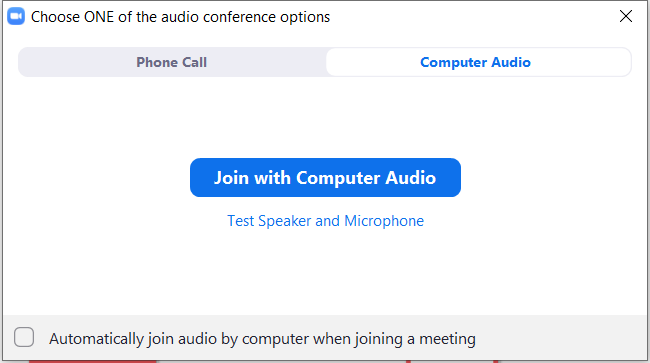
After you start the meeting, you will see this window below. Please directly click “Join with Computer Audio”.
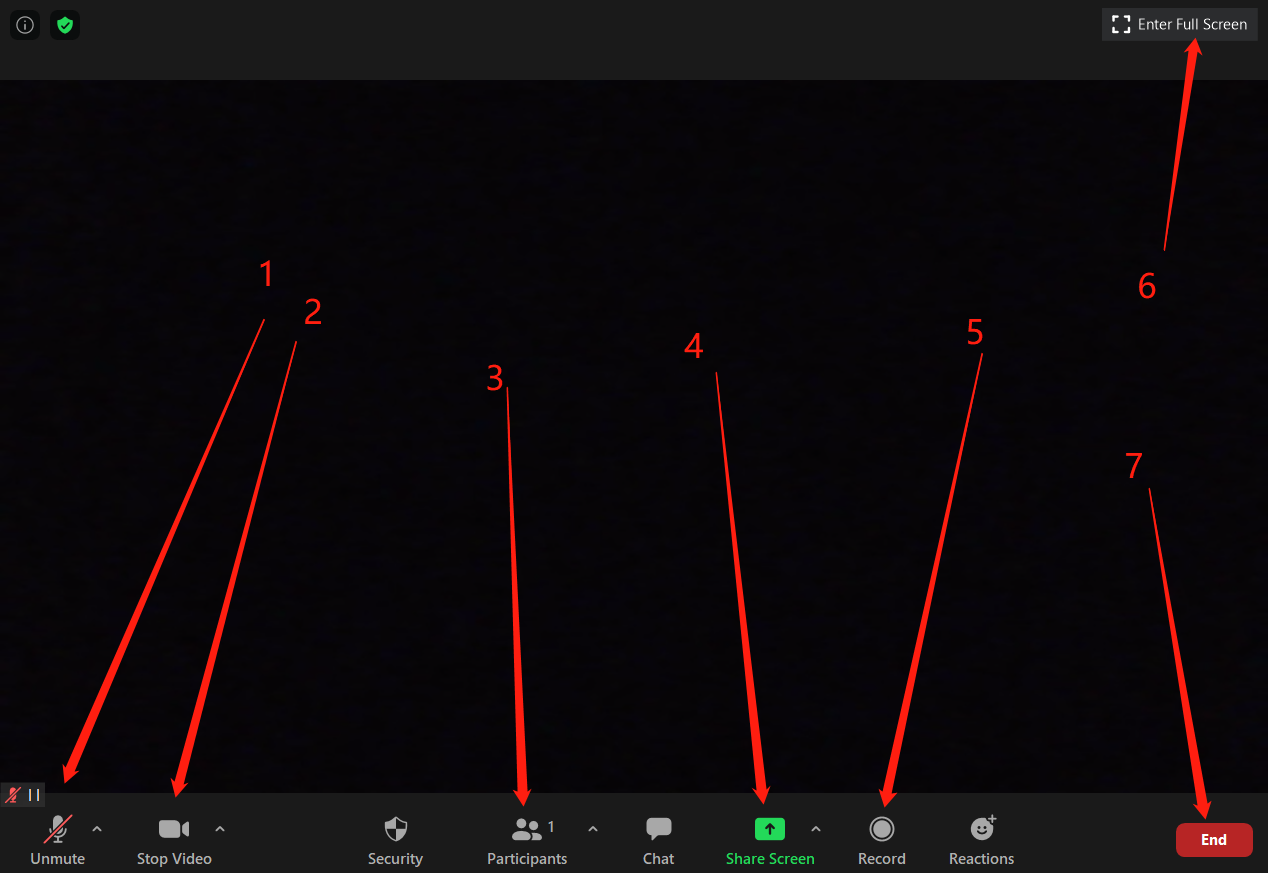
Then you will see the screen like the picture below with many functional tabs on the bottom bar. Please Check the first two tabs to make sure your Mic and Camera are open.
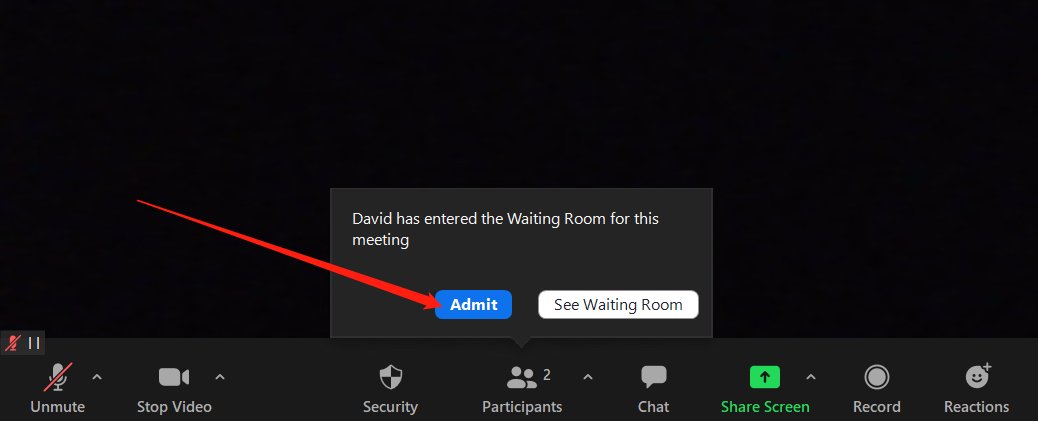
Step 6: Accept Application
We require the teachers and students to be ready at least 5 minutes in advance to have enough time setting ZOOM. You will see the window showed below if a student is entering the class. Then you need to click “Admit”.
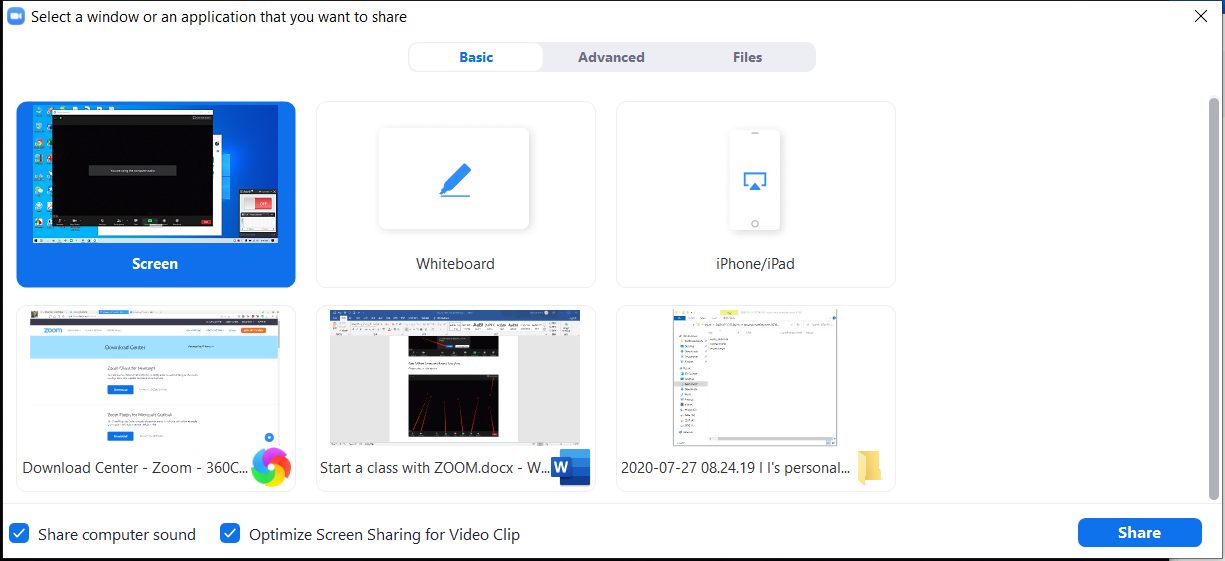
Step 7: Share Screen
Click tab 4 named “Share Screen” to open the screen sharing setting. Choose the first one “Screen” showed in the picture below, check the two options on the bottom, and then click right-bottom named “Share”.
Then you will see all the menus and tabs showing on the top of your computer.

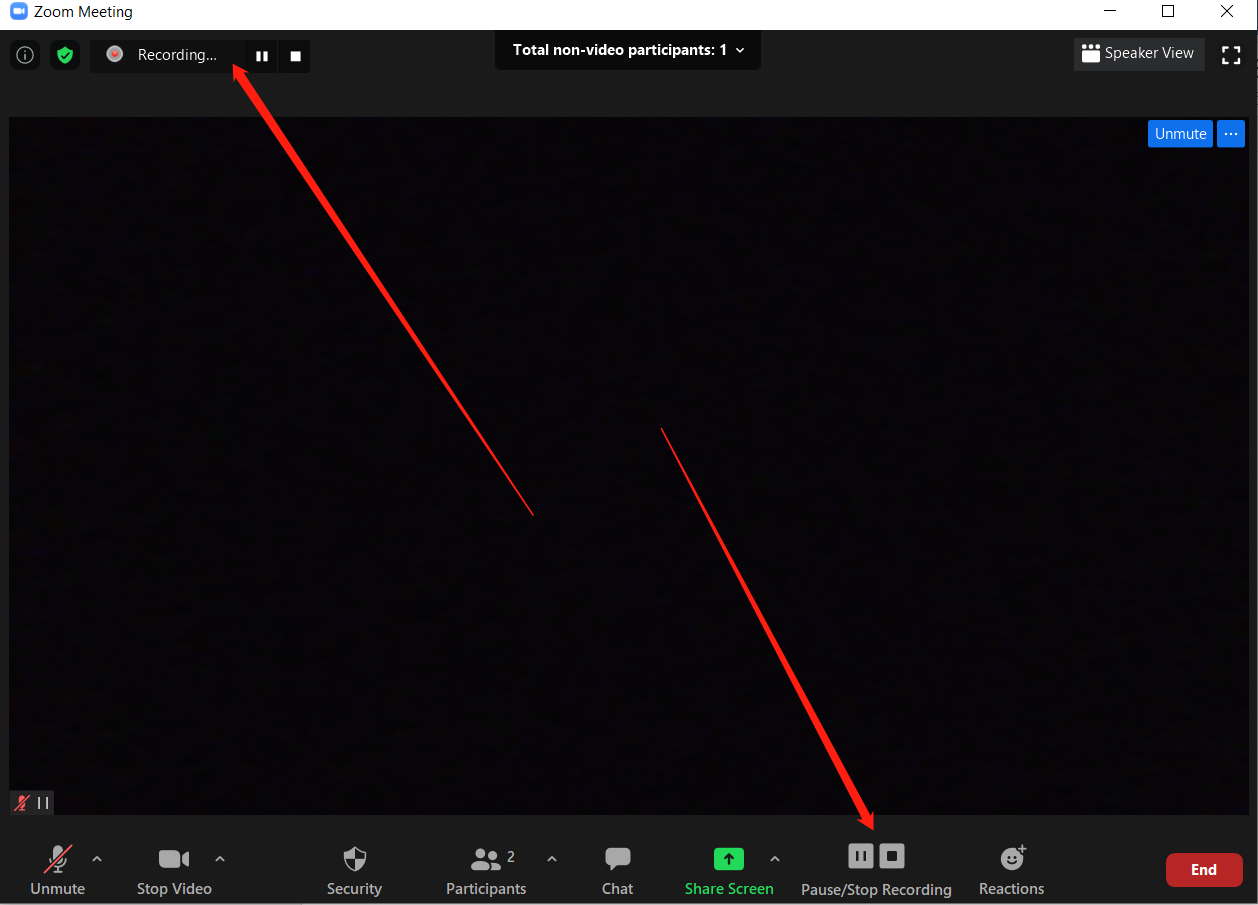
Step 8: Record Your Class
Now it comes to the last step. You can click the menu or tab named “Record”. You will see its recording showed in the picture below. Now you can start your class. When the class is over, you can directly click the red button named “End”, and the recorded video will be saved automatically. You can leave the videos in your computer drive for 2 weeks, in case that some demanding parents have any questions about the class.

More tips:
Contact Us

Support Center
Support Representative